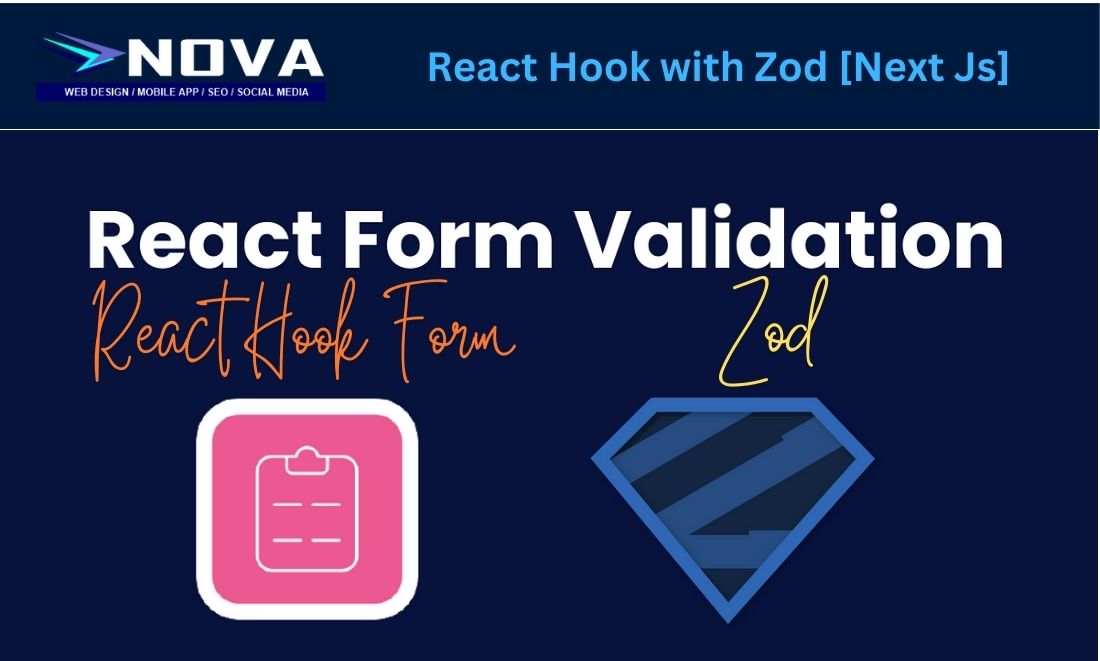
One of the most useful library if you are into Next Js. Introducing React Hook Form and Zod for form creations and form validation. Here is the easy implementation
There will be 3 parts.
1) Installing the React Hook Form, Zod, and React Resolver
2) Creating the component Page
3) Creating the page.tsx
Let’s Start
1) You will need to install Next JS. Wont be showing you this
2) You then install the React Hook Form, Zod and React Resolver
npm install react-hook-form zod @hookform/resolvers
3) Create component folder in your /app/component
4) Create a file ‘registrationform.tsx’ in the component /app/component/registrationform.tsx
5) Write the code for the registration.tsx
“use client” //Make sure you set this to clientimport { useForm, SubmitHandler } from “react-hook-form”import { zodResolver } from “@hookform/resolvers/zod”import * as z from “zod”// Schema for Zodconst schema = z.object({name: z.string(),age: z.number(),})// Initialised the Type for Schematype Schema = z.infer<typeof schema>export default function Registrationform() {const { register, handleSubmit, formState: { errors } } = useForm<Schema>({resolver: zodResolver(schema),})const onSubmit = (data: Schema) => {console.log(data)}return (<form onSubmit={handleSubmit(onSubmit)}><div className=”p-2″><input placeholder= ‘Name’ {…register(“name”)} /> {errors.name && <span>{errors.name.message}</span>}<br/></div><div className=”p-2″><input placeholder= ‘Age’ {…register(“age”, { valueAsNumber: true })} type=”number” /> {errors.age && <span>{errors.age.message}</span>} <br /></div><div className= ‘p-2’><input type=”submit” /></div></form>)}
You can see tha we need to create the schema for zod. All the field must be declare in the schema along with the validation
6) Create a folder /app/registration.
7) Create a file name page.tsx in the directory. /app/register/
8) Write the code for the page.tsx
import Registrationform from “../component/registrationform”export default function Register() {return (<div><h1>Register Page</h1><Registrationform/></div>)}
9) Create a folder /app/api/register
10) Creeate route.ts page in /app/api/register/route.ts
export async function POST(req: Request, res: Response) {const data = await req.json();console.log(data);return Response.json({ success: true });}
As for the Server, make sure you create the api page so that you are able to do the necessary validation and necessary processing