

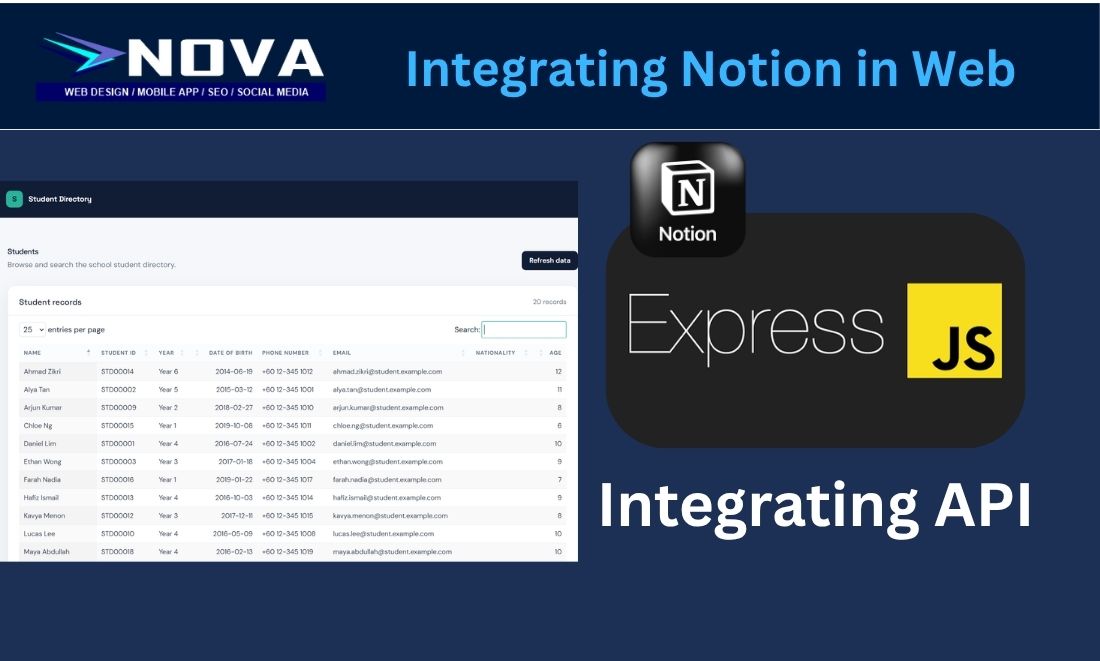
Many developers and website owners have asked me how to integrate the Notion API with a website. One of the main reasons is simple: many of us want to use Notion as a lightweight Content Management System (CMS).
Instead of managing website content directly inside your website’s backend, you can manage your information in Notion and retrieve it dynamically through the Notion API.
In this tutorial, I will show you how to create and structure a database in Notion, connect it to your website using the Notion API, retrieve the database records, and finally display the information on your website.
This approach allows Notion to become more than just a note-taking or collaboration platform. It can serve as a central content and data management layer for your websites and applications.
Why Store Your Website Information in Notion?
There are several reasons why you may want to use Notion as part of your website architecture.
1. Moving Towards a Headless CMS Architecture
You may be moving towards a headless CMS architecture, where your content management system is separated from your website’s frontend.
In this setup, Notion manages the content while your website—whether built with Next.js, React, PHP, or another technology—retrieves and displays that content through the API.
2. Centralize Content Across Multiple Websites
If you manage several websites, blogs, or digital platforms, maintaining content separately can become difficult.
Notion can act as a centralized content management hub.
You can maintain information from one location and allow multiple websites or applications to retrieve the required data through the Notion API.
This can make content management considerably easier, especially for businesses operating multiple websites.
3. Build Structured and Relational Data
Notion databases support properties and relationships between different sets of information.
This means you are not limited to storing simple articles or text content.
You can create structured databases for:
- Blog posts
- Products and services
- Team members
- Projects and portfolios
- Case studies
- FAQs
- Documentation
- Events
- Customer-facing resources
By combining Notion databases, relations and the Notion API, you can use Notion as the data layer behind surprisingly sophisticated websites and applications.
In the next section, we will create our first Notion database and prepare it for API access.
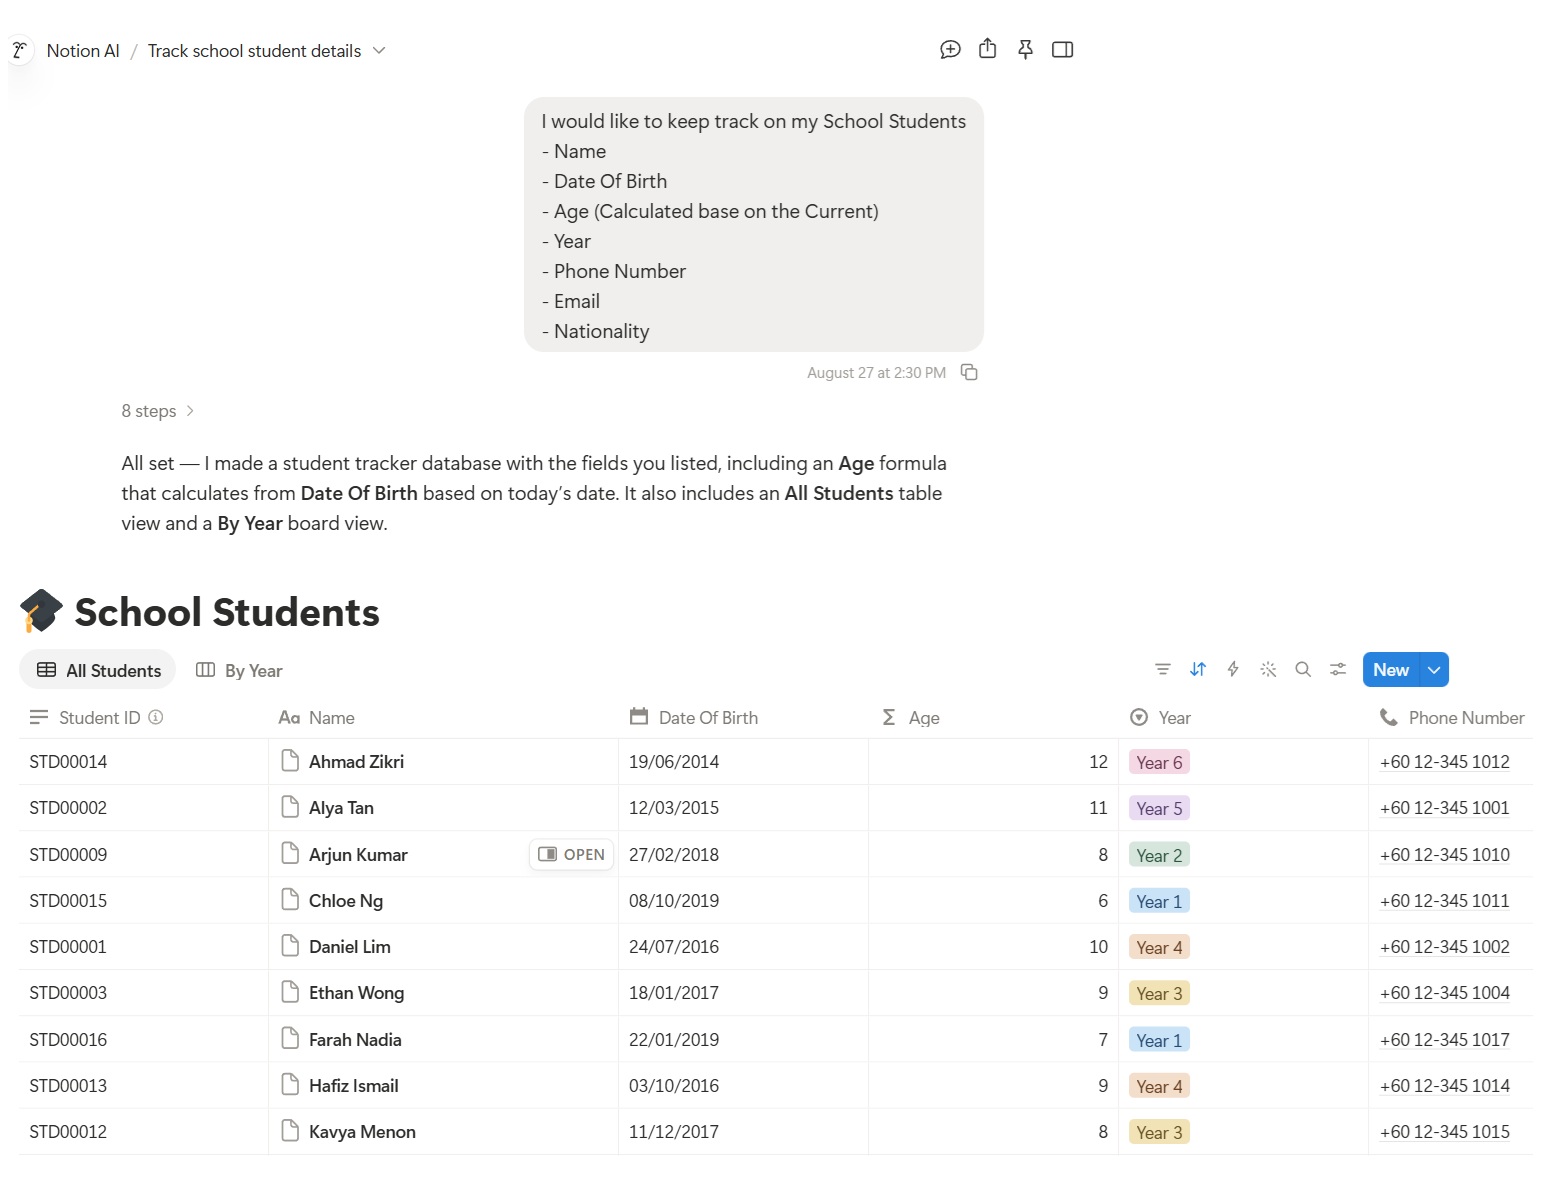
Step 1:
Creating database for student is really simple. Just chat with the AI and it will spin out a live database in seconds.
Step 2:
Let me share with you the server.js code so that you will have a better context. I am using visual studio Code. You may need some technical knowledge to install Express.JS and install some dependencies.
Here is my package.json
server.js
At Terminal
node server.js in terminal
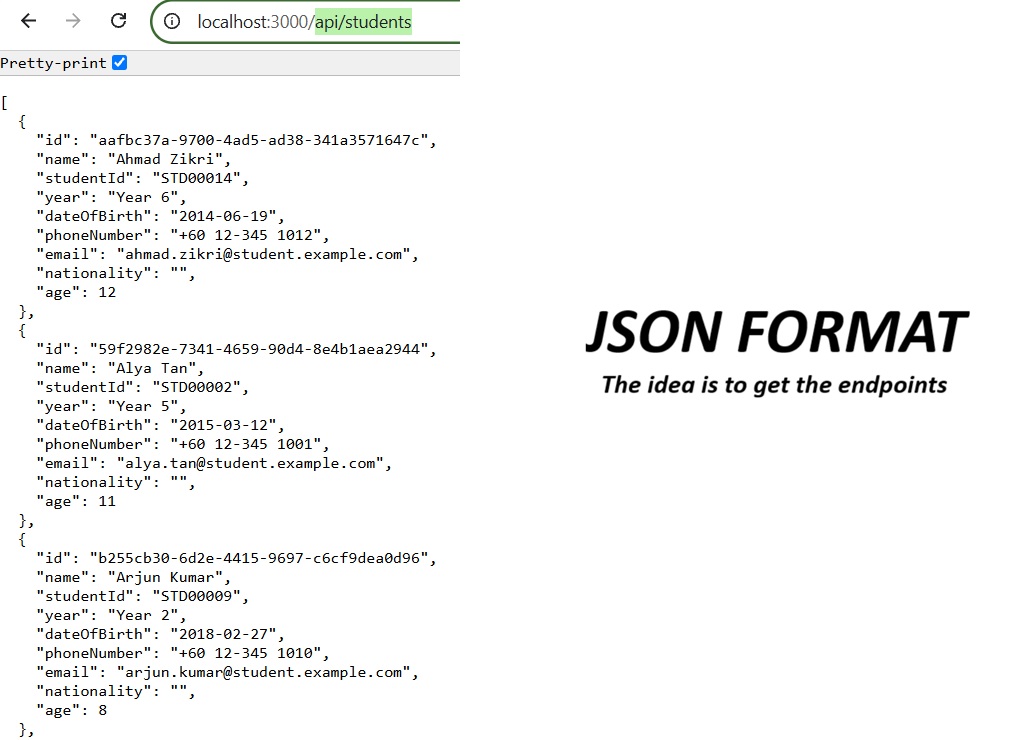
Lets try to get the JSON file via Express.js Terminal by typing in browser
http://localhost:3000/api/students
Step 3:
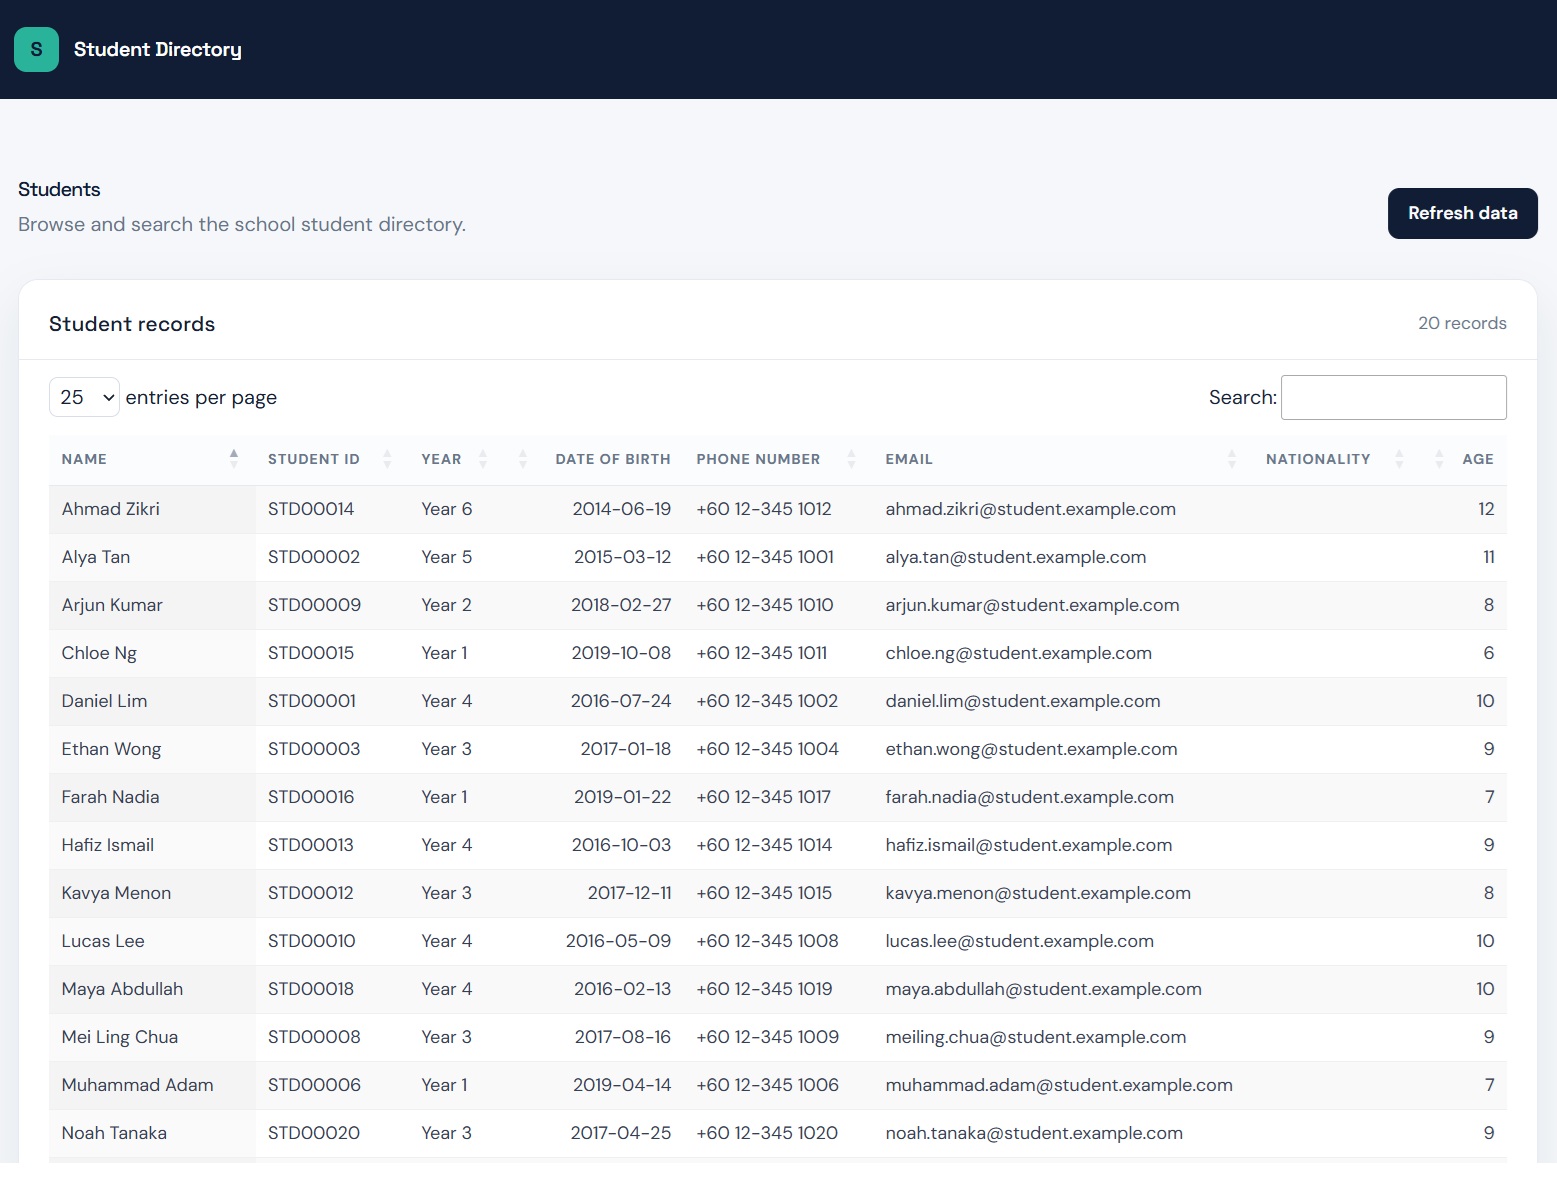
Create your HTML File (index.html). I don’t think you need to write any HTML code. Just use Codex or Claude to create by using this prompt
‘@index.html Please create date table using Tailwind CSS. Make it look professional. ‘
If you are keen to learn more about how notion can assist you in automating your task? or enhancing your web integration. Do not forget to call Nova.